▪ Jump Rings in a Jiffy ▪
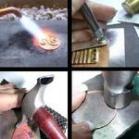
At some point, if you make enough jewelry, when you're nearing the end of a project you'll run out of jump rings. To cut more rings I use a jump ringer cutting system which is powered by my Dremel® or flex shaft. They're a pricey investment. So unless you are cutting LOTS of rings, you can either use a jewelers saw, which cuts both ends of the ring flush at the same time, or you can use the simple method shown below.
The first thing you'll need to do is make a wire coil. NOTE: When making coils it's best to use a metal mandrel as a wood mandrel is soft, allowing the wire to cut into it which will make the coils inconsistent in size and difficult to remove from the mandrel. Knitting needles work nicely for this. I've used 16 gauge wire in these photos.
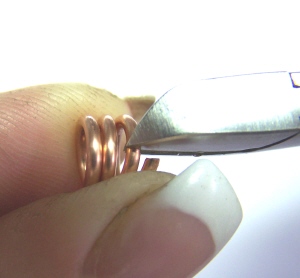 Cut the coil with your flush cutters. Be sure to cut your rings in a straight line across the coil. To ensure that your jump rings close without a gap you'll need to cut both ends flush as shown in the last photo.
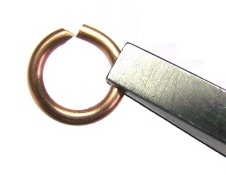 Flush cutters only cut a flush edge on one side of the cut
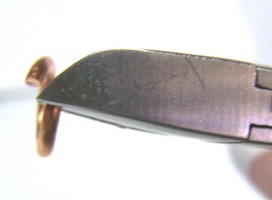 So, after making your initial cut you must go back and trim the "V'd" end flush as shown here.
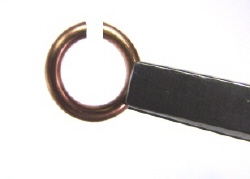 Voilá! Here's your finished jump ring.
This method works great in a pinch. Tumble your jump rings to remove any burrs and give them a wonderful finish. This also hardens them somewhat.