▪ Headpin Earwire Tutorial ▪
If you've been making jewelry for any length of time (even a few weeks), you'll quickly fill an odds-and-ends box. Mine seems to collect, among other things, an assortment of fancy headpins. Instead of scrapping them, I've given them new life by transforming them into beautiful earwires. You can too, and you'll be amazed at how quick and easy it is to do. Here's a simple step-by-step tutorial for making headpin earwires.
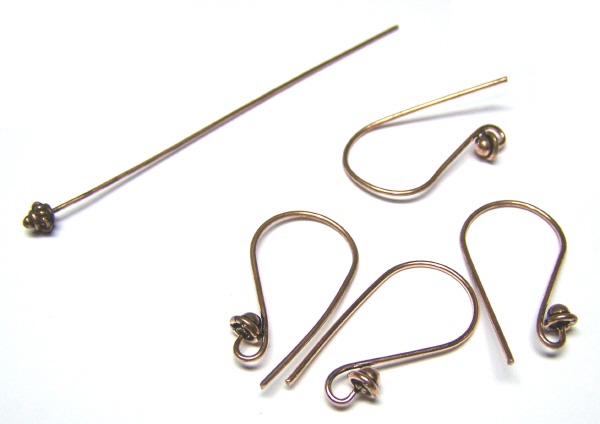
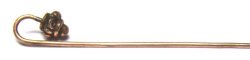
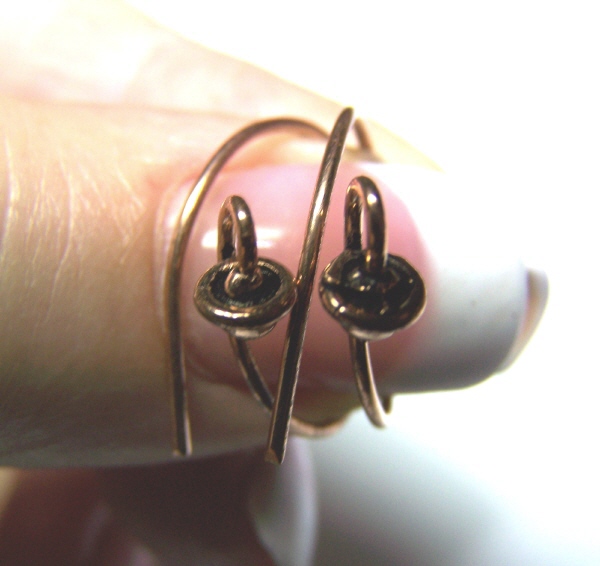
You can start with either fancy headpins such as shown at the left or ball tip headpins or any pre-made earwire with a malleable soft wire, such as the Bali earwires shown in this photo.
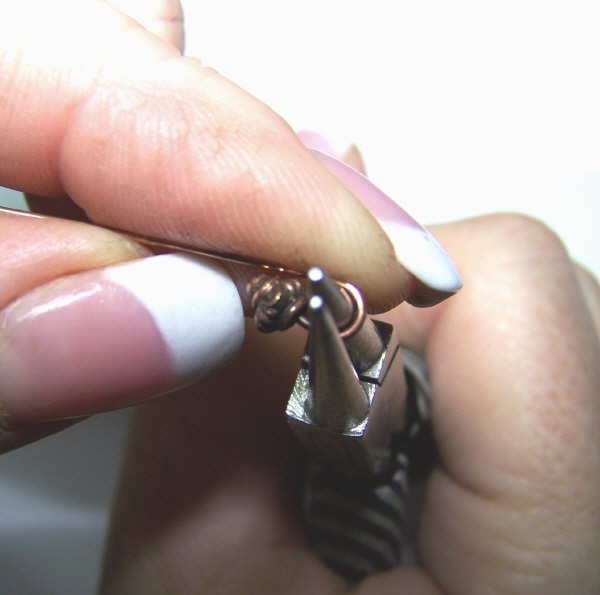
You need a hook for the earring dangle. If the hook is not pre-formed, then form your own. Use your round nose pliers to add a small curve near the decorative head.
Like so.....
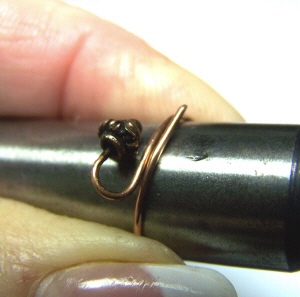
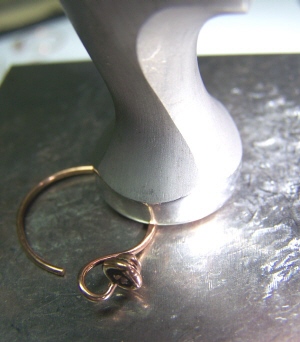
Next, wrap the earwire around a large mandrel. I use a #25 dapping tool, which measures 16 mm in diameter.
You can use a fat pen or a wooden dowel, or whatever round mandrel you have handy. The size of the mandrel will determine how big around your finished earwire will be.
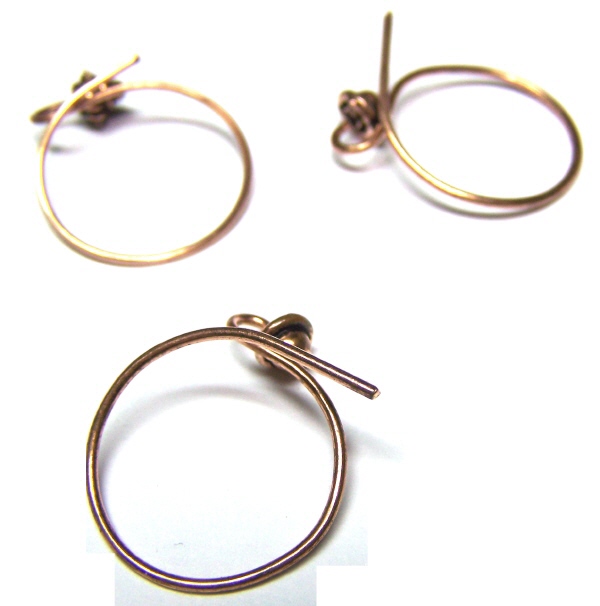
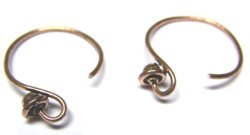
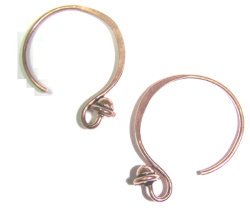
And this is what they look like when you slide 'em off the mandrel.
To help ensure a matching pair, cut your wires two at a time. I make my cuts so as to leave an opening of approximately 1/4 inch. You can see what I mean a couple of pictures below.
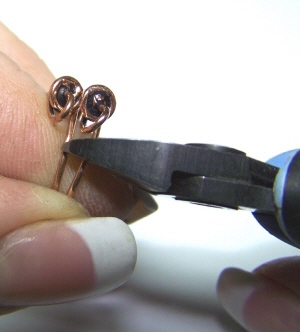
Be sure to cut the plain end of the wire, not the end with the heads on them. Otherwise, you'll cut the heads off and they will end up in your scrap box.....permanently!
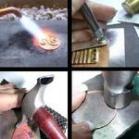
Now we're ready for hammering. This step is not necessary, but I highly recommend it to ensure the earwire holds its shape. It also adds a little stylish flair.
Be sure to flatten only the front part of the earwire, being careful not to hammer the wire where it goes through the ear. Some people may have a hard time sliding it through their ear if it's too wide.
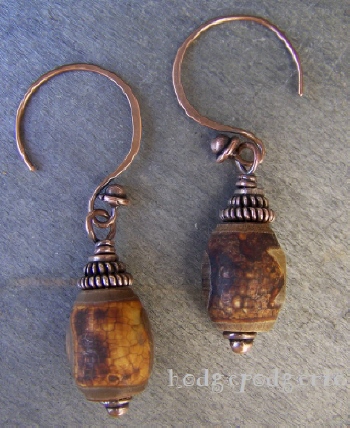
Be sure to file smooth the ends of the wire so that they don't tear the delicate skin inside the ear piercing. They're ready to patina, or not. Slide on your favorite dangle and they're ready to wear!